162
162
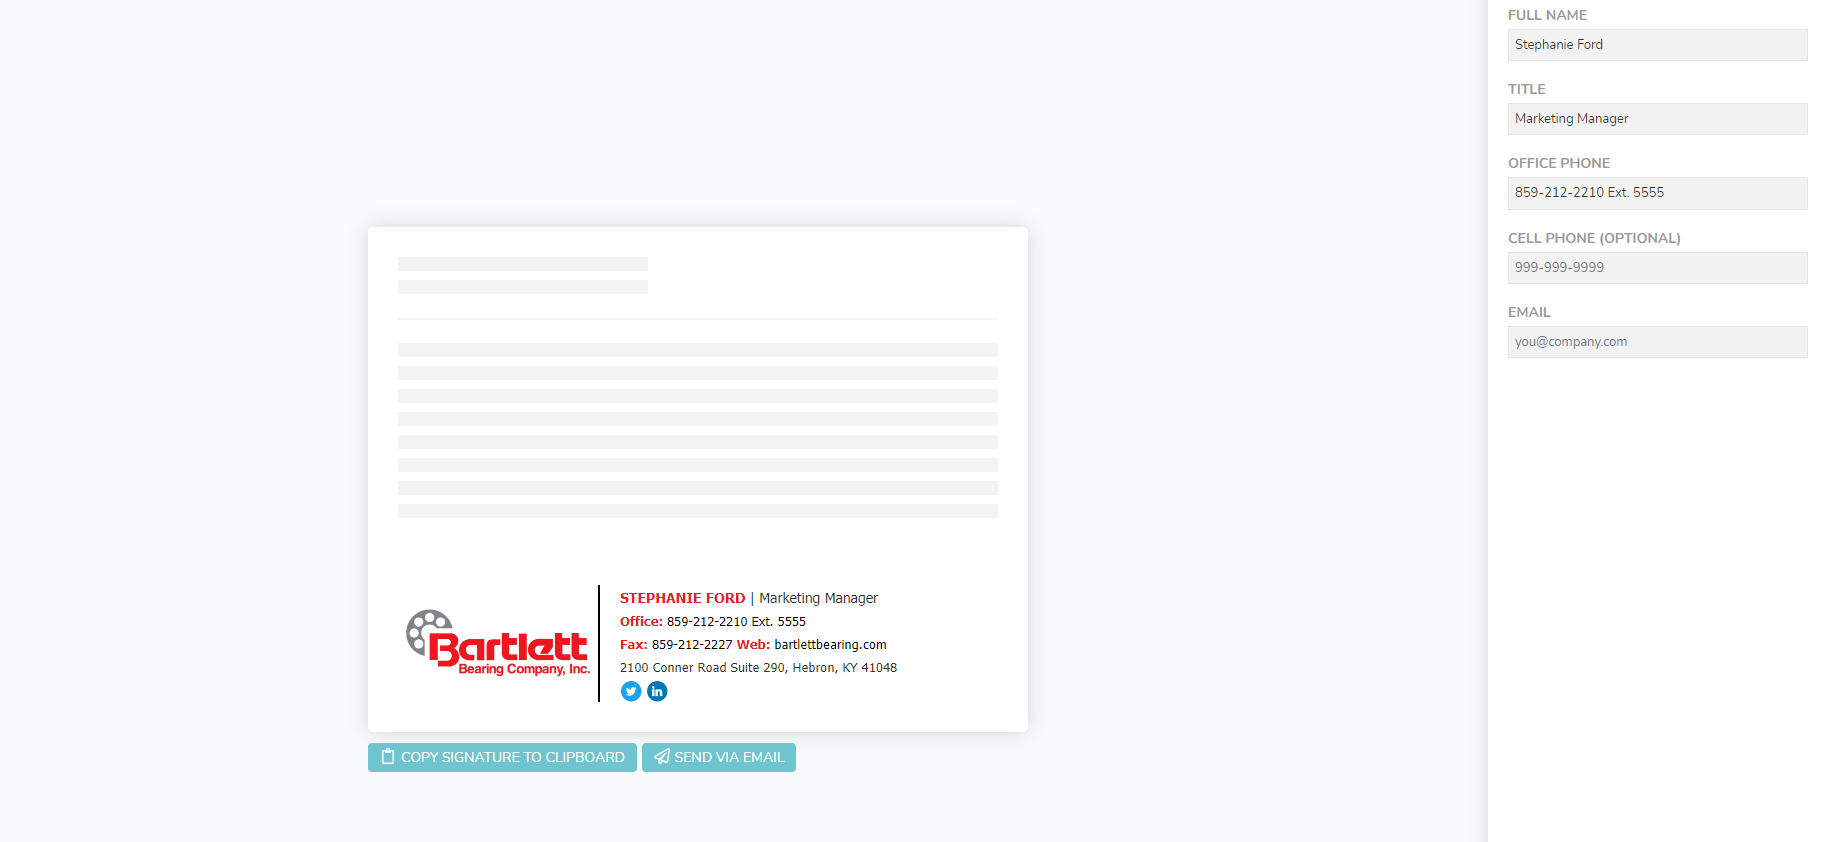
Bartlett Bearing now has a standard email signature you should use for all new and reply-to emails. Here is a step-by-step guide to using the signature.

1. Click the link that opens our email signature generator for your branch.
a. Philadelphia - https://philadelphiabartletticon.signature.email/
b. Gastonia - https://gastoniaicon.signature.email/
c. Hebron - https://hebronicon.signature.email/
d. Pelham - https://pelhamicon.signature.email/
e. Tampa - https://tampaicon.signature.email/
f. Grain Valley - https://grainvalleyicon.signature.email/
2. Fill in your contact information.
a. Name – please put your first and last name.
b. Title – please fill in your title.
c. Phone – your branch office number is already input, but you may include your extension. If you do not want to include your extension, please delete the “Ext. 5555” from this field.
d. Cell Phone – this is optional, but if you use a cell phone for work and would like to have it in your signature, please fill it in.
e. Email – this will not appear in the final version of your signature but is required to complete the form field.
3. Once you have filled in all the required fields, you should see a sample on the screen of how your signature will look. Double check that all fields are showing accurately, then click “Copy Signature to Clipboard” and follow the instructions for Outlook.